
TM 10-3930-641-34-2
LOCATION/ITEM
ACTION
REMARKS
5.
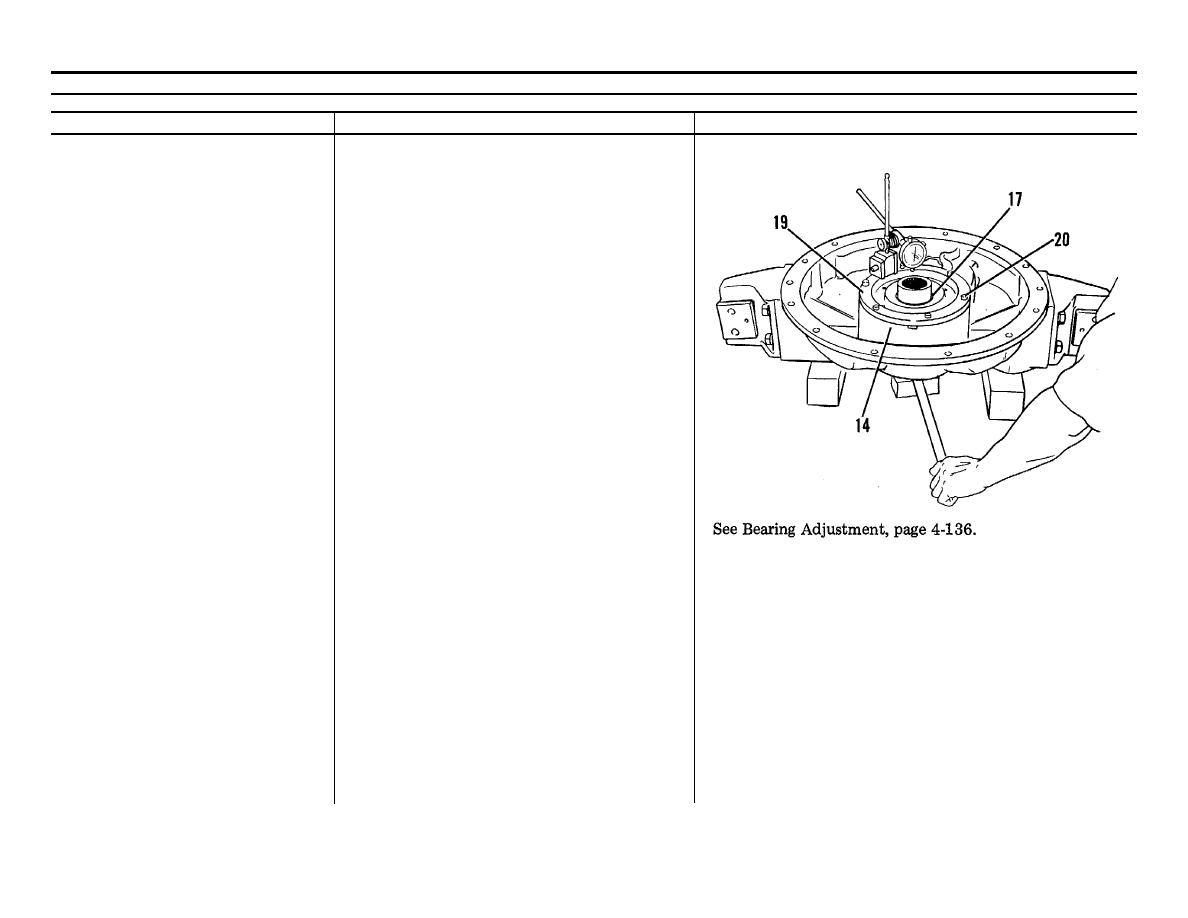
Cage (19)
a. Install on case (14) and secure with cap-
screws (20) tightened finger tight.
b. Install dial indicator on cage (19) as shown.
NOTE
Indicator stem should touch surface of driven
gear.
c.
Tighten the six capscrews (20) evenly until
end play of driven gear is .004-.008 in.
(0.10-0.21 mm). (Move driven gear up and
down to check end play.)
d. Measure gap between cage (19) and case
(14) with a feeler gage.
e. Install the correct thickness of shims (18)
under cage (19) that eliminate gaps be-
tween case and cage.
f. Recheck end play. Add or remove shims
until end play measures .004 to .008 in.
(0.10 to 0.21 mm).
g. Remove dial indicator.
TA099333
Go on to Sheet 5
4-132

