
TM 10-3930-675-24-2
ELECTRONIC JOYSTICK ASSEMBLY WIRING HARNESS REPLACEMENT - CONTINUED
0083 00
INSTALLATION - CONTINUED
5.
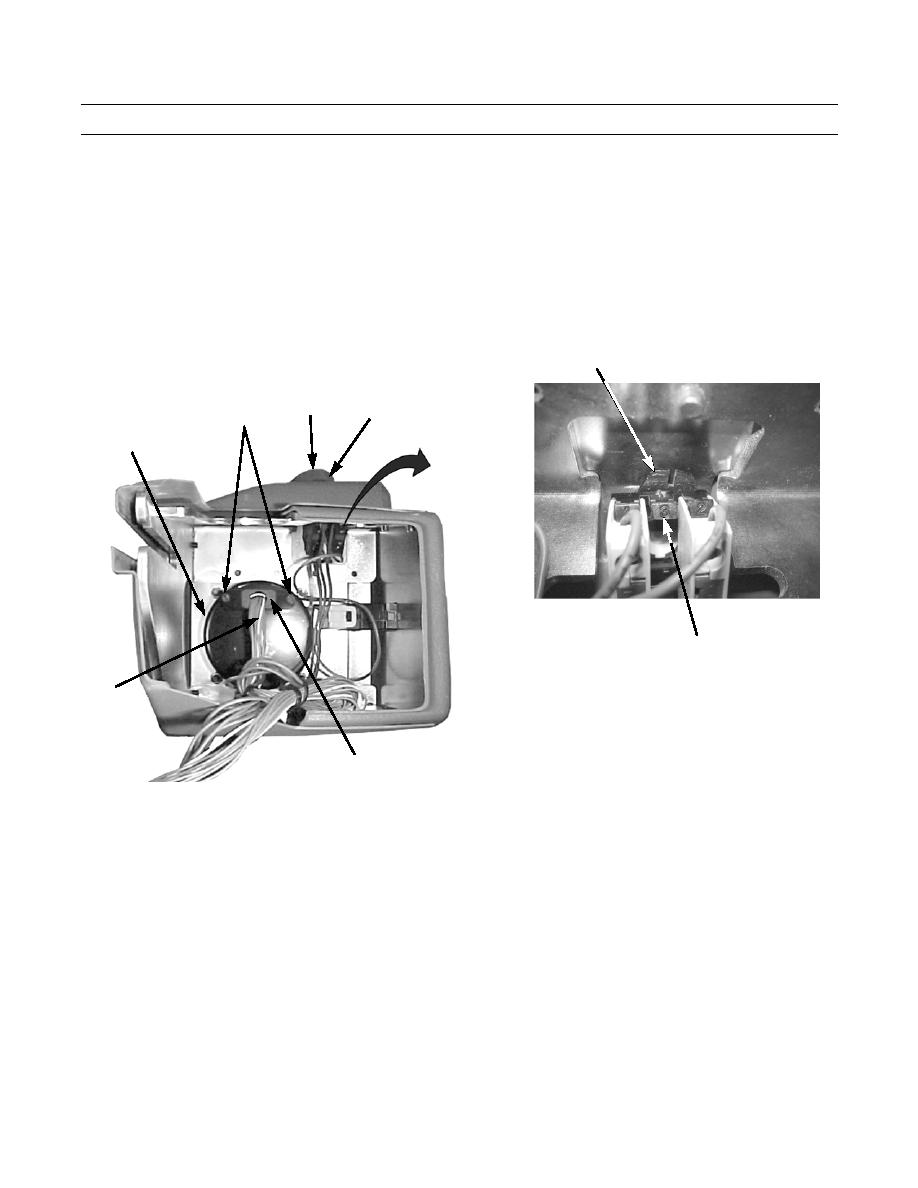
Align push button knob (8) in housing (5).
NOTE
Ensure window of push button is in proper position when tight.
6.
Install plastic nut (9) from bottom and rotate push button knob (8) to tighten.
7.
Position emergency stop switch (12) over push button (8) shaft and slide lever (11) right to secure.
8.
Connect connector (10) joystick wiring harness (3) to bottom of joystick (6) and tighten two screws (7).
11
8
9 (HIDDEN)
7
6
12 (HIDDEN)
3
10
434-40012
0083 00-6

