
TM 10-3930-675-24-2
SPREADER CHAIN REPLACEMENT - CONTINUED
0168 00
INSTALLATION
1.
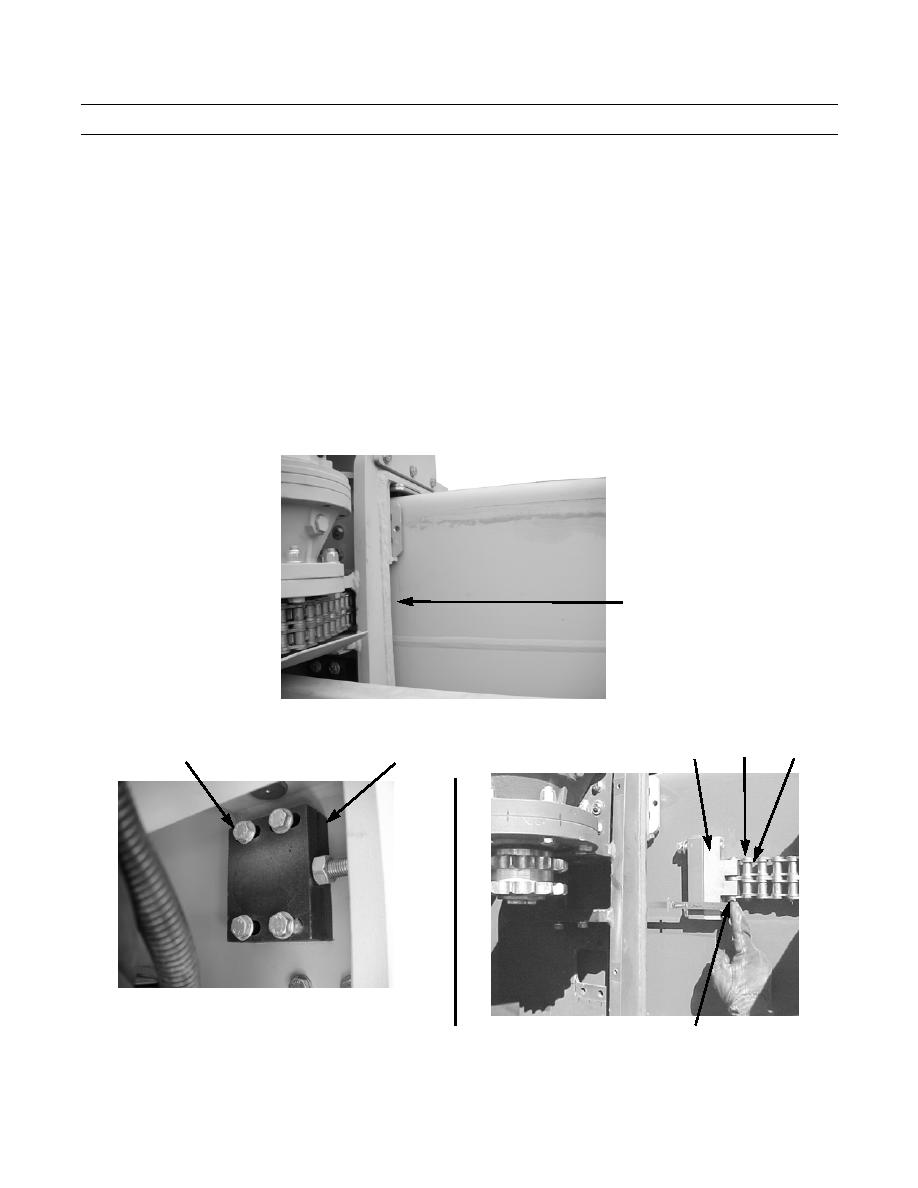
Install new chain (13) on chain anchor (35) with pin (36), washer (38), and new cotter pin (37).
2.
Attach ratchet strap to spreader chain (13) and end beam tee, and apply tension to keep spreader chain tight, while slid-
ing beam is being pushed back into main beam about 30 in. (76.2 cm).
3.
Install 40-ft stop block (34), four screws (32), and four washers (33). Position stop block on mark (C) made during
removal and tighten bolts.
4.
Install four socket head capscrews (29), washers (30), and new locknuts (31) on other end of hydraulic hose/electric
power track (28).
5.
Install four capscrews (25) and washers (26) on hydraulic/electrical hose power track support (27) and vehicle.
6.
Using forklift, slowly slide beam into main beam until it is positioned at mark (A), on wall of sliding beam at main
beam, made during removal.
A
434-40189
36
32,33
35
13
34
434-40195
434-40137
37,38
0168 00-8
