TM 5-3810-306-34
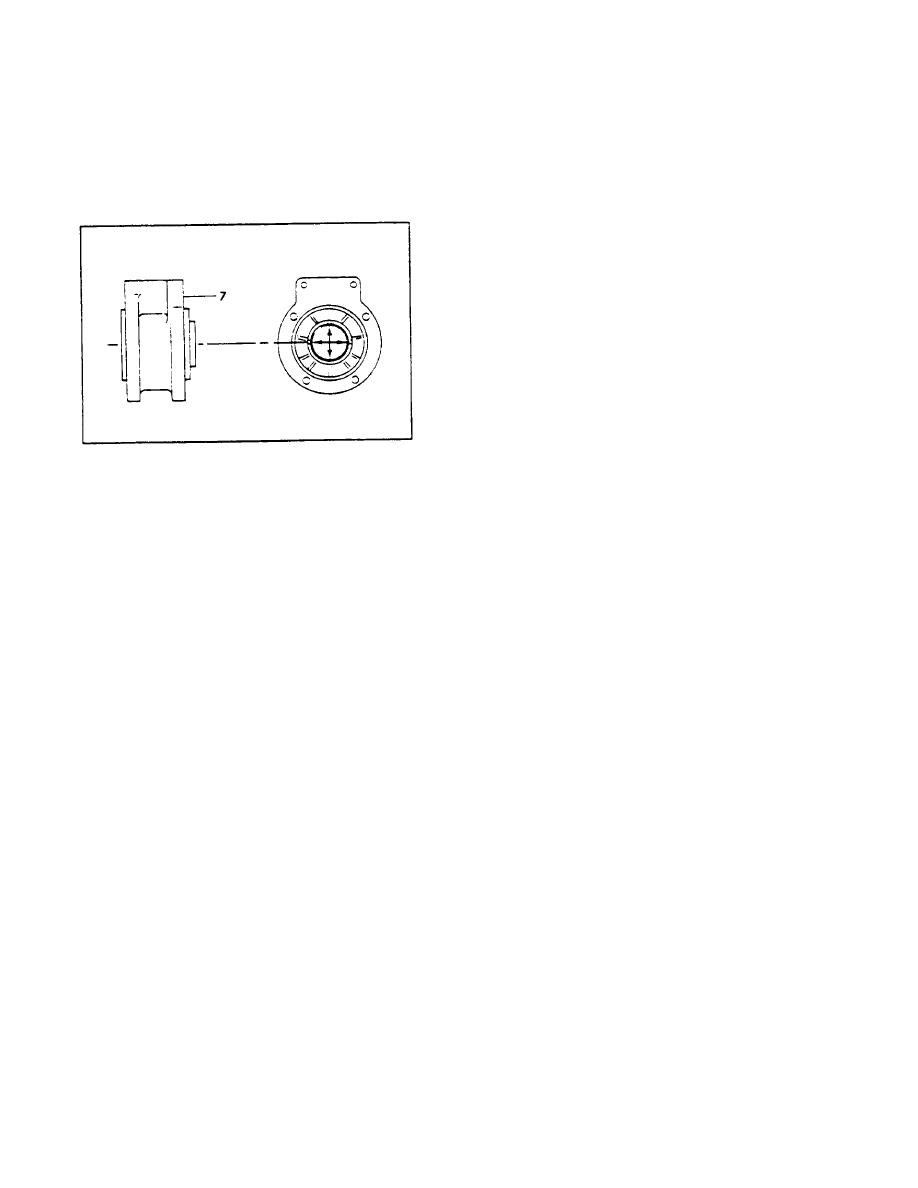
i. Measure inside diameter of support (7).
o. Measure outside diameter of piston (21).
Use following criteria.
Measure 0.250 in. (6.35 mm) above
bottom piston skirt at right angle to piston
Min = 1.8740 in. (47.600 mm)
pin bore. Measurement should be
Max = 1.8760 in. (47.650 mm)
Worn = 1.8775 in. (47.688 mm)
Min = 3.619 in. (91.92 mm)
Max = 3.620 in. (91.95 mm)
Worn = 3.617 in. (91.87 mm)
p. Using new piston rings (22), (23) and (24)
measure ring to groove clearance. Install
piston rings (22), (23) and (24).
Piston rings (23) and (24) to groove
clearance should be:
Min = 0.002 in. (0.05 mm)
Max = 0.0035 in. (0.089 mm)
Worn = 0.0045 in. (0.114 mm)
Oil ring (22) to groove
clearance should be:
j. Inspect connecting rod (17) for damaged
Min = 0.0015 in. (0.038 mm)
bushing (18).
Max = 0.003 in. (0.08 mm)
Worn = 0.004 in. (0.10 mm)
k. Measure inside diameter of crankshaft end
of connecting rod (17). Replace if I.D.
q. Measure piston pin bore on piston (21).
exceeds 1.9355 in. (49.263 mm).
Min = 0.6880 in. (17.475 mm)
l. Measure inside diameter of piston end of
Max = 0.6885 in. (17.488 mm)
connecting rod (17).
Replace if I.D.
Worn = 0.6890 in. (17.501 mm)
exceeds 0.6895 in. (17.513 mm).
r. Inspect crankcase (13) for cracks and
m. Measure piston pin (20) outside diameter.
scoring.
Min = 0.6875 in. (17.462 mm)
s. Measure cylinder bore diameter on
Max = 0.6876 in. (17.465 mm)
crankcase (13). Measure bore diameter at
Worn = 0.6872 in. (17.455 mm)
1.0 in. (25.00 mm) below top of crankcase.
Maximum out-of-round is 0.0015 in.
n. Inspect piston (21) for cracks and scoring.
(0.mm). Cylinder bore should be:
Replace if damaged.
Min = 3.625 in. (92.08 mm)
Max = 3.626 in. (92.10 mm)
Worn = 3.6285 in. (92.164 mm)
9-10


