TM 10-3930-675-24-2
ENGINE ASSEMBLY REPLACEMENT - CONTINUED
0197 00
CAUTION
If engine and/or transmission is not operational and boom must be elevated, auxiliary pump can
be used to provide hydraulic power for boom operation. Operate pump for not more than four
minutes and allow pump to cool for not less than two minutes. Perform operate and cool cycle as
many times as needed to elevate boom. Failure to allow pump to cool may cause damage to pump.
DO NOT begin engine assembly replacement without first having all required tools and equip-
ment to complete the procedure. This will help in reducing the time boom must remain at maxi-
mum elevation.
NOTE
Remove engine from front of vehicle using suitable lift.
REMOVAL
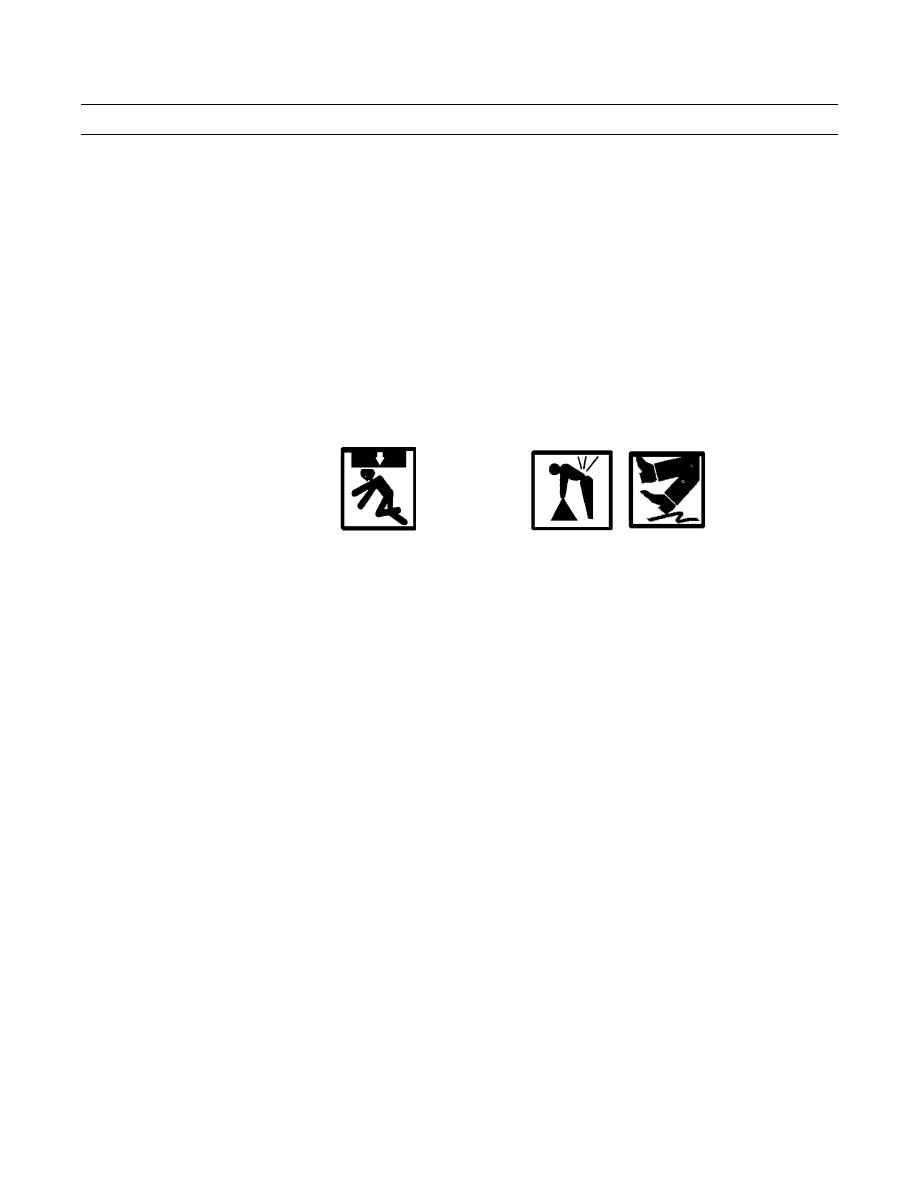
WARNING
Use extreme caution when handling heavy parts. Provide adequate support and use assistance
during procedure. Ensure that any lifting device used is in good condition and of suitable load
capacity. Keep clear of heavy parts supported only by lifting device. Failure to follow this warning
may result in death or injury to personnel.
Engine weighs 2,070 lb (940 kg). Lifting device must have sufficient capacity to lift engine. Failure
to follow this warning may result in death or injury to personnel.
Improper use of lifting equipment and improper attachment of cable to vehicle can result in seri-
ous personnel injury and equipment damage. Observe all standard rules of safety.
Fuel lines and hoses may contain residual amounts of fuel that may be spilled. To prevent person-
nel injury from slipping on spilled fuel, spilled fuel should be cleaned up immediately.
NOTE
If A/C compressor is being removed for access, it is not necessary to disconnect refrigerant lines.
1.
Remove all tiedown straps and clamps securing A/C refrigerant lines to engine. Discard tiedown straps.
2.
Remove screw (5), washer (6), and nut (7) securing drive belt adjustment arm (8) to A/C compressor (4).
3.
Remove screw (5), washer (6), and nut (7) securing drive belt adjustment arm (8) to engine mount bracket (9). Remove
drive belt adjustment arm and retain for installation.
4.
Remove screw (1), washer (2), and nut (3) securing A/C compressor to engine mount bracket (10).
NOTE
When positioning A/C compressor and refrigerant lines free of engine, ensure refrigerant line connec-
tions are not loosened or broken, allowing refrigerant to escape from system.
5.
With assistance, remove A/C compressor (4) with refrigerant lines attached and position free of engine compartment.
0197 00-2


